1. Navigate to printer settings. You can get there by clicking on the Start button, then Settings to reach the Windows Settings screen. You can also reach the settings screen with a keyboard shortcut (Windows key + I)

2. Click Devices.

3. Click Printers & scanners on the left side.

4. Toggle off “Let Windows manage my default printer.”

5. Select the printer you want and click Manage.

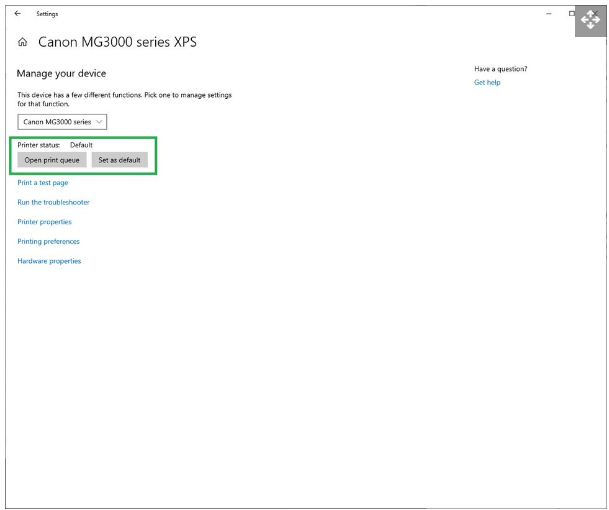
6. Click "set as default." You can Confirm the change was successful by looking at the printer status. If there is no "set as default" button, that means your printer is already the default.
Now any program you print from will automatically select the printer you designated as default.